As you may or may not know, I LOVE HALLOWEEN! And so I try my best to come up with a great new costume and make it. This year's brainstorm came a little late (since I start thinking about Halloween around June). But I did get a start into it and posted a blog about taking over the pool table with my jellyfish dress and hat project.
As I was hand stitching all of the parts of the hat together last week, I started to put Sparkle and blue LED lights into the base of the hat. The whole time thinking "I hope this works, how am I going to stick this darn 3V battery in?" Since the conductive thread needs full pressure on the positive and negative side of the battery, I decided to try a binder clip:
These little guys are great for everything. That's why I carry them around in my purse. And it worked!
I would strongly suggest this as a quick-fix for your eTextiles. It held on all night, including the point where I took the hat off and it started to get passed around. Here's an ok image of the hat lit up:
So, as usual, I got my costume together in time and fun was had by all. Happy Halloween and good luck on the candy jackpot tonight!
This started with Betsy prodding at me to do a Pac-Man designed bangle, but she wants the LED lights in it too. I needed to try out using conductive thread in solid beads so I went with this design.
Pac-Man, being a simple pixel-based game is not hard to translate onto a bead graph. I drafted two designs. The first (which you see here) has Pac-Man and all four ghosts, with 4 LED lights. The second design has only 2 of the ghosts and 6 LED lights in the design. We shall see if I get to making the second design.
I wanted this piece to look streamline so I didn't want to mess with putting Sparkle or an on-off switch in it. During a night of insomnia, I sketched out how to stitch this bracelet to utilize snaps as an on/off switch. I also created a battery pocket in all black to insert behind the red ghost.
Part of the issue I ran into on the first battery pocket in the original eTextiles beaded bracelet was keeping the pressure from the conductive thread, to the battery. So on this piece I ordered Wire Glue from ThinkGeek.com and slowly built it up inside the battery pocket. I also dabbed some onto the LEDs for a sturdier connection. I was fortunate that most of this design is black, as the wire glue is also black. I'll have to keep this in mind with future projects. I'll talk about my experience with the wire glue in another post.
Happily, the conductive thread seems to be working well inside of the seed beads, despite all of the thread that I already pack into the beads. I only had one little incident of a bead breaking (this happens plenty, but it's more difficult to fix when it's with the conductive thread).
This was a fun piece to do. I think I'll be offering Pac-Man in this design (with the 4 LEDs), and without the LED lights as a snap-on bracelet or a bangle (I made the design easy to adjust to each). Probably by order-only. Keep an eye out for that on my website and Etsy shop!
Enjoy!
Want more? Here's the Pac-Man Bangle's YouTube Video!
I feel fortunate that my first LED bangle worked out so well after having issues with wiring this piece. I made one, it was working but seemed to be ebbing instead of twinkling. I assumed that was a product of sparkle. Since it's stopped working I'm wondering if I crossed my threads just enough to make it act weird and then fizzle out. So I re-made the whole piece but changed some of the structural design.
Here is the second piece working really well. I am so excited about having an on/off switch now!
I had some major learning curves in this second piece, so here's what I changed from the first blue bangle to the second. Some of it may have helped the second one work better, I'm not for sure though. I am just trying to break down all of the possible problems from the first one.
#1: Structure: LED sequins are fragile.
I am really rough on my work when I'm beading. I break metal needles forcing them through beads while reinforcing pieces all of the time. It never occurred to me that the LED lights were fragile too, whoops, my mistake! They are durable, but this second bangle I did I broke 2 lights and conductive thread doesn't layer in very well for repairs.
I also used the lights as part of the structure of this bangle causing more stress on the LED sequin in this design. I went back to my original design where the LED are "free floating" woven within the piece. I actually created a beaded netting to hold the two end pieces together and not only was it easy to weave the LEDs in, but the blue lights glow into the clear beads in the netting creating a great effect.
structure photo
#2: Conductive Threading.
I have never paid much attention to where my thread is going within the beads before. I think I may have shorted this one out due to one or two things: 1) my threads are touching somewhere within the woven part or b) I used seed beads with silver content and they may be touching other things.
#3: Metal Content in Seed Beads
I had thought about this before I even started in on using the conductive thread in my beadwork, but I was only considering "silver lined" beads to be a potential problem. This is where the bead has a clear or clear-colored glass exterior and the hole of the bead is lined in a silver that causes a particular look for the bead. This bangle I had pick out some silver delicas to use in the two end pieces, but forgot that they actually have silver in the content of the bead, interior and exterior.
Original Design #FAIL that I spoke of:
The Blue Wave Diode was finished last week, I blogged it, then something crashed, so here goes again.
I was very inspired by the blue LED lights that came in from Aniomagic last week so I matched up some delicas and got to work.
I decided to stick to a simple wave-like pattern that is the same on both sides of the bangle. I am continuing to keep the LED sequins in the middle of the piece. This design was thought out much more thoroughly than the first design, but I really just had to dig in with wherever it took me to get going on the first one.
Also, I had to use white thread on the first bangle (because I chose white beads that the black thread would show through on) which is not as strong as the black (nymo size D on both bracelets). This second bangle holds its own shape much better because of that!
I finished putting in the other half of the LED sequines into my first eBeaded bangle. It's really growing on me, and I had a fun time showing it to people at the Ann Arbor Fiberart Guild Fiber Feast (Is that bracelet... blinking?)
There's 1 LED that has a faint glow when sparkle is going, and then lights bring in the patterned blinking. I'm not sure if the LED is a little off, or if I did something wrong. In any event, I'll keep playing. I have a design in mind for the blue LED sequines that I got in last week from AnioMagic. I'd like to place all 10 of them into a bracelet.
1) I wired it so that when you slip the battery in, you have to put it in backwards. (Which is actually a relief because at first I thought that after all that sewing conductive thread through beads it didn't work.)
2) Broken beads/needles. Which happen in a lot of my projects. Normally a broken bead is easy to drop in after you break it out but since the conductive thread is so thick it can only really go through the beads twice (only once in some of them). Broken needles, well, I do that a lot these days from passing too much thread through my beads.
3) I'm not 100% on the design, this is so new to me that I tend to have to play a lot before I have totally pure inspiration based on a technique. So I ordered 30 more LED sequins, 2 more Sparkle and and on/off switch last night from Aniomagic. I think I'm going to make the next one with more lights and less different types of beads, it feels busy to me. Thoughts? I would really love comments on what you think of the design.
On the up-side, the conductive thread is a lot easier to bead with than I was expecting, I just need a decent amount on the end where the needle will tear at it as I go (to cut and throw out), but it passes through delicas quite well, most size 11/0 seed beads, and *sometimes* a 15/0 seed bead (very tiny).
(Please excuse my cat, Danielle, in the video. She likes to be the center of attention).
Lesson learned today: sewing together LED lights with sparkle must be done in a certain fashion. I kept thinking that it is just like doing electrical (plugs, light switches etc.) in your house. Thought process has been changed. I doubt I'll forget to wire normal electrical but I have to avoid that thinking.
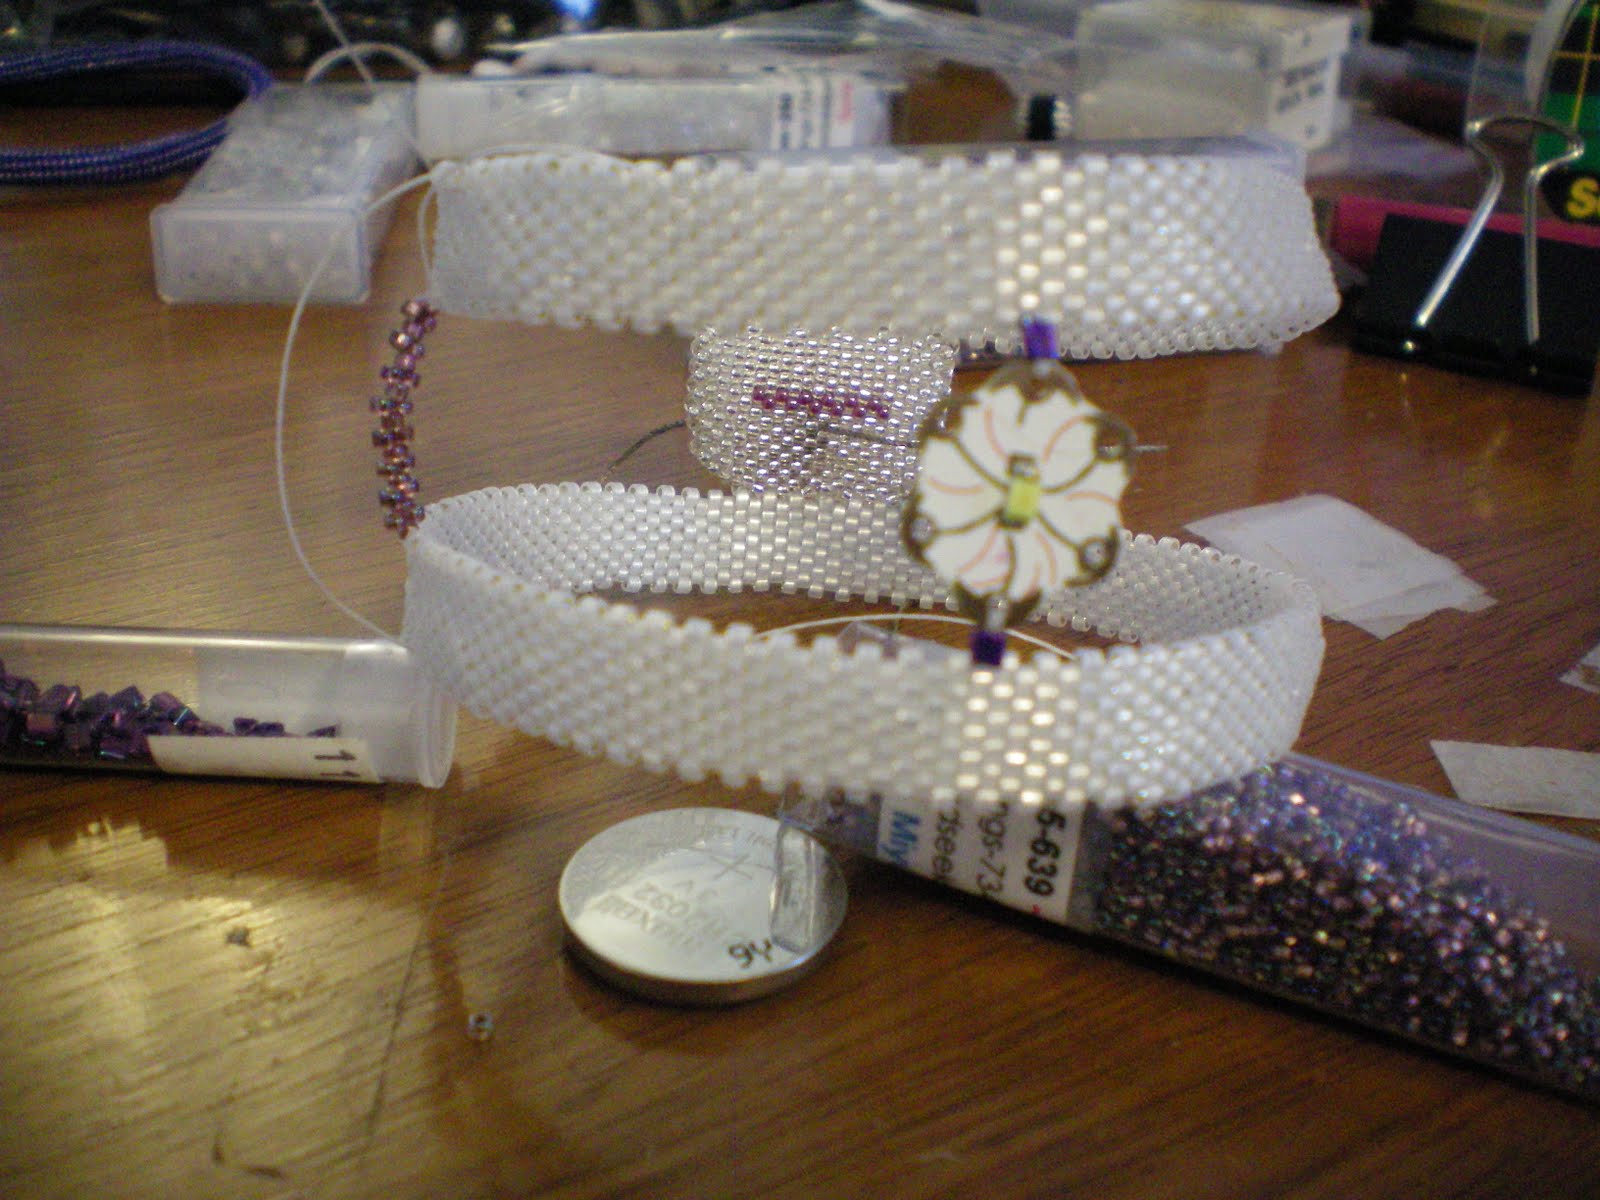
So then I was on a bit of a roll and I got the battery holder and sparkle attached to the bangle "frame."
So my question for Tuesday's eTextile meeting will be, cal sparkle be worn against the skin? I'm guessing that little back-circuit board will be fine all in all. Of course, I can always cover it in beads!
I finished my beaded battery holder this morning and of course needed to test it out. I started with conductive thread, the holder, my 3Volt battery sparkle and a size 10 beading needle.
I made large knots in the conductive thread and threaded them into the inside and the tail of the thread out of the holder as seen below:
My first try there was no light, so I took it apart and tried it with just the thread, battery and sparkle,
that worked, so I ended up making my knots that needed to be hitting the battery much larger. It seems to be working well!
Next step is to work on the frame of the bangle design and mull over how the lights will be intergrated into it.